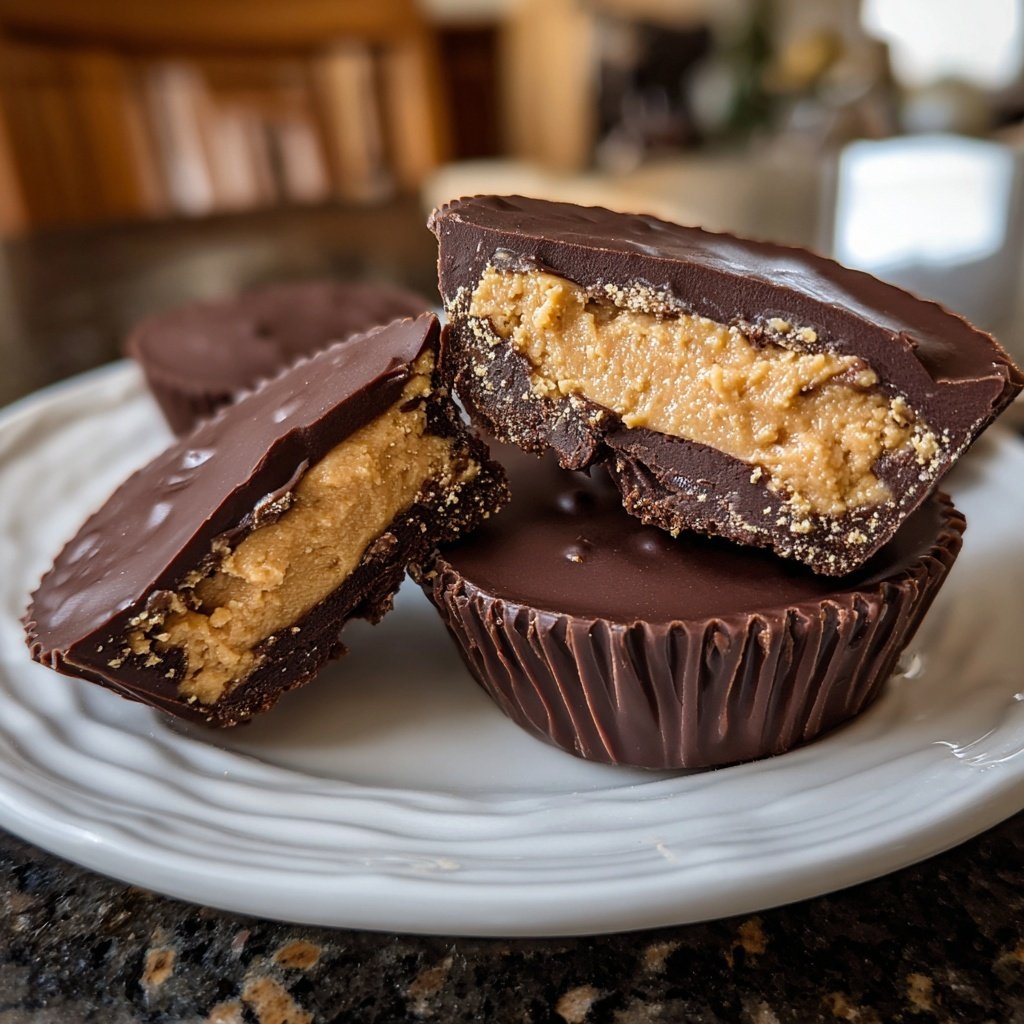
Homemade Reese’s Cups with Chocolate Shell
Highlighted under: Golden Food
I absolutely love making my own Reese’s Cups with Chocolate Shell at home. The creamy peanut butter filling paired with the rich chocolate exterior is simply irresistible. It’s a delightful project that’s both fun and rewarding, allowing me to control the ingredients and adjust the sweetness to my liking. Each bite is like a little piece of heaven. Plus, it’s a great way to impress friends or family at gatherings when I share these delicious treats!
When I first decided to make Reese’s Cups at home, I was pleasantly surprised at how simple the process turned out to be. The key is to ensure the chocolate is tempered properly to give it that perfect snap. I found that melting the chocolate slowly over a double boiler kept it smooth and glossy, making it easy to coat the cups evenly.
Creating the filling is where the fun really begins! I like to mix creamy peanut butter with a bit of powdered sugar for sweetness. Trust me, letting the mixture chill for a bit allows the flavors to meld beautifully. I can’t wait for you to try these; they are sure to become a favorite!
Why You'll Love This Recipe
- Indulgent peanut butter cream that enhances every bite
- A rich chocolate shell that snaps perfectly
- Easily customizable for different flavors and add-ins
Mastering the Chocolate Shell
Creating a perfectly smooth chocolate shell is crucial for the overall texture of your Reese’s Cups. Using a double boiler is the best method for melting chocolate, as it ensures gentle heating. Stir the mixture continuously until it's glossy and fully melted. If you overheat the chocolate on direct heat, it can seize up, so be cautious and keep the heat low. Adding coconut oil not only helps the chocolate to melt beautifully but also gives a sleek finish that enhances the snap of the shell.
When molding the chocolate, use a silicone mold for easy removal. Pour a thin layer of the melted chocolate into each cavity, making sure to tilt the mold slightly to cover the sides. An appropriate thickness is about 1/8 inch; if it's too thin, the cups may break, and if too thick, they'll be overly rich. After you've added the first layer, place the mold in the freezer for about 10 minutes until it hardens slightly—this step is key for preventing the filling from seeping into the chocolate.
Creating the Perfect Peanut Butter Filling
The peanut butter filling is what truly makes these cups stand out. I recommend using creamy peanut butter for a smoother texture, ensuring that no chunks disrupt the delightful experience. The powdered sugar acts not only to sweeten but also to stabilize the filling, giving it a thicker consistency that holds up well inside the chocolate shell. If you prefer a less sweet filling, feel free to reduce the powdered sugar; just know it may require a bit more stirring to achieve a creamy consistency.
Incorporating the vanilla extract is essential for adding depth to the flavor profile of the filling. It enhances the nuttiness of the peanut butter and balances out the sweetness from the chocolate. Mix the ingredients until the filling is smooth and homogenous; it's essential that there are no lumps. If you want to experiment with flavors, consider adding a pinch of salt or even some crushed pretzels for texture, creating a delightful sweet-salty contrast.
Tips for Serving and Storage
Once you’ve completed your Reese’s Cups, they can be served immediately or stored for later enjoyment. If you choose to store them, keep the cups in an airtight container in the freezer where they’ll last for up to 2 months. These treats are best enjoyed cold, as the chocolate shell retains its snap and the filling remains perfectly creamy. If you prefer softer cups, let them warm slightly at room temperature before serving, for about 10-15 minutes.
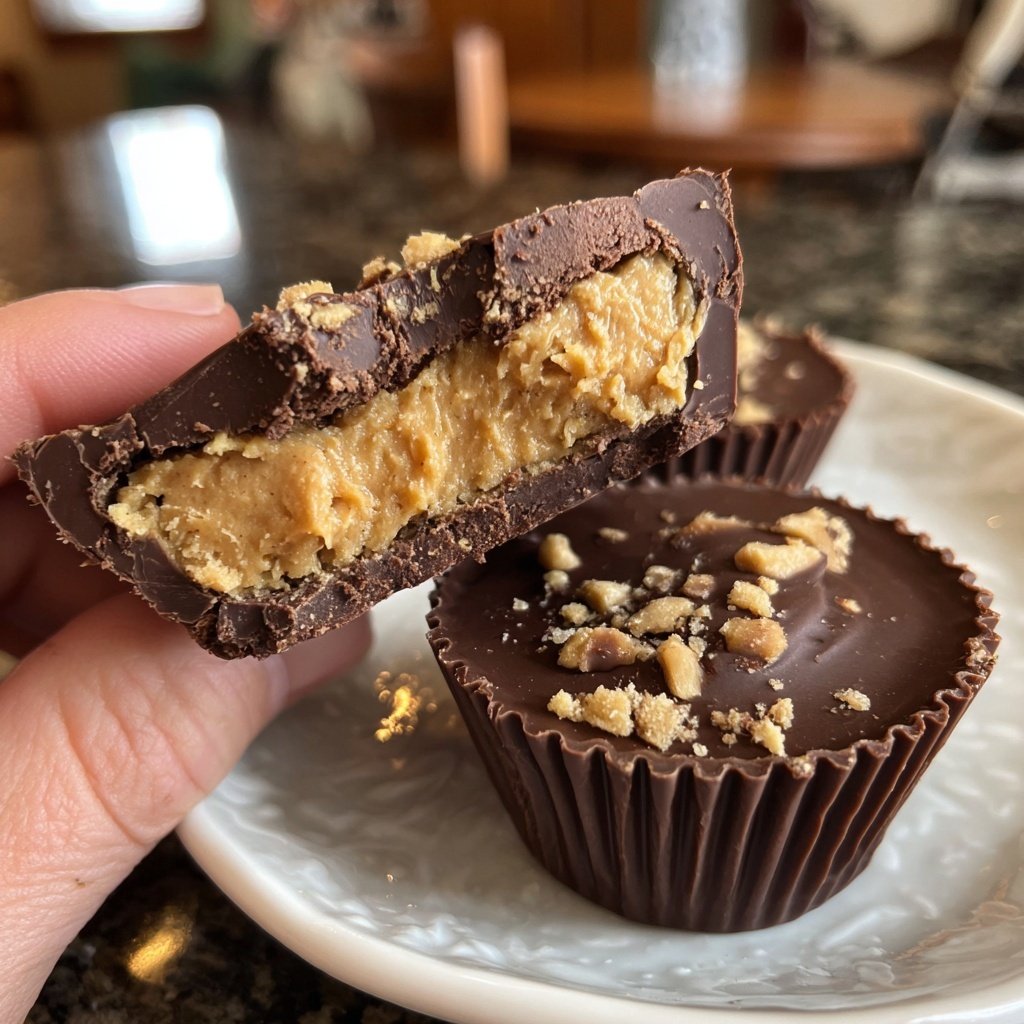
For a fun presentation, consider drizzling excess melted chocolate over the top or sprinkling crushed nuts for added texture. You can also experiment with flavored chocolate—try white chocolate for a twist or dark chocolate for a more decadent treat. Each variation brings a new experience that can impress your family and friends. Their versatility is part of what makes these homemade treats so enjoyable; don't hesitate to get creative!
Ingredients
Gather these ingredients to get started:
For the Chocolate Shell
- 1 cup dark chocolate chips
- 1 tablespoon coconut oil
For the Peanut Butter Filling
- 1 cup creamy peanut butter
- 1/2 cup powdered sugar
- 1 teaspoon vanilla extract
Now that you have everything, let's move on to the steps!
Instructions
Follow these steps to create your indulgent treats:
Prepare the Chocolate Shell
In a double boiler, melt the dark chocolate chips and coconut oil together until smooth. Remove from heat and let it cool slightly.
Mold the Chocolate
Using a silicone mold, spoon a thin layer of the melted chocolate into each cavity. Make sure to cover the sides. Place it in the freezer for about 10 minutes to set.
Make the Filling
In a mixing bowl, combine the peanut butter, powdered sugar, and vanilla extract. Stir until smooth and creamy.
Fill the Cups
Once the chocolate shells have hardened, remove them from the mold. Add a generous spoonful of the peanut butter filling into each chocolate shell.
Top with More Chocolate
Cover the filling with more melted chocolate, ensuring each cup is completely sealed. Return to the freezer and let them set for another 10-15 minutes.
Serve and Enjoy
Once fully set, pop the Reese’s Cups out of the molds and enjoy your delicious homemade treats!
Enjoy these delicious homemade Reese’s Cups anytime you need a sweet treat!
Pro Tips
- For an extra kick of flavor, try adding a sprinkle of flaky sea salt on top of the chocolate before it sets!
Ingredient Substitutions
While this recipe calls for dark chocolate chips, you can easily swap them for milk chocolate or even white chocolate, depending on your preference. Each type will yield a different flavor outcome, with milk chocolate offering a sweeter taste and white chocolate providing a creamy backdrop that complements the peanut butter. Just be cautious with the sweetness levels, especially if making substitutions, as some chocolates are sweeter than others.
If you're looking for a healthier option, consider using natural nut butter instead of creamy peanut butter; just be sure it doesn't contain added sugars or oils. Almond or cashew butters can offer unique flavors and slightly different textures. Remember that these alternatives may affect the overall taste, so adjust the powdered sugar accordingly to achieve the desired sweetness.
Scaling the Recipe
This homemade Reese’s Cups recipe can easily be scaled up or down depending on your needs. To double the recipe, simply increase the quantities of each ingredient proportionately. If you're hosting a gathering, consider making a larger batch—use a muffin tin lined with paper liners for larger cups. Adjust the melting time and setting times as needed based on the quantity; larger molds may require slightly longer in the freezer to set properly.
For smaller portions, mini muffin tins work perfectly. Just remember to reduce the melting time slightly, as less chocolate may melt faster. You can also create an assortment of flavors by dividing the melted chocolate into smaller bowls and mixing in various extracts (like almond or mint) before molding. This versatility allows you to cater to different tastes and preferences!
Questions About Recipes
→ Can I use milk chocolate instead of dark chocolate?
Yes, you can substitute with milk chocolate; just note that it will alter the flavor slightly.
→ How should I store these Reese's Cups?
Store them in an airtight container in the refrigerator for up to two weeks.
→ Can I make these vegan?
Absolutely! Use dairy-free chocolate and a nut butter without added dairy.
→ What can I add to the peanut butter filling?
Feel free to mix in crushed nuts, chocolate chips, or even a dash of cinnamon for added flavor!
Homemade Reese’s Cups with Chocolate Shell
What You'll Need
For the Chocolate Shell
- 1 cup dark chocolate chips
- 1 tablespoon coconut oil
For the Peanut Butter Filling
- 1 cup creamy peanut butter
- 1/2 cup powdered sugar
- 1 teaspoon vanilla extract
How-To Steps
In a double boiler, melt the dark chocolate chips and coconut oil together until smooth. Remove from heat and let it cool slightly.
Using a silicone mold, spoon a thin layer of the melted chocolate into each cavity. Make sure to cover the sides. Place it in the freezer for about 10 minutes to set.
In a mixing bowl, combine the peanut butter, powdered sugar, and vanilla extract. Stir until smooth and creamy.
Once the chocolate shells have hardened, remove them from the mold. Add a generous spoonful of the peanut butter filling into each chocolate shell.
Cover the filling with more melted chocolate, ensuring each cup is completely sealed. Return to the freezer and let them set for another 10-15 minutes.
Once fully set, pop the Reese’s Cups out of the molds and enjoy your delicious homemade treats!
Extra Tips
- For an extra kick of flavor, try adding a sprinkle of flaky sea salt on top of the chocolate before it sets!
Nutritional Breakdown (Per Serving)
- Calories: 140 kcal
- Total Fat: 10g
- Saturated Fat: 3g
- Cholesterol: 0mg
- Sodium: 15mg
- Total Carbohydrates: 12g
- Dietary Fiber: 1g
- Sugars: 8g
- Protein: 3g